 There is nothing like being able to cook with fresh herbs, don’t you agree? I have heard many a famous chef describe fresh parsley adding elements of ‘zing’ or ‘color’ or ‘interest’ and shortly afterwards compare dried parsley to confetti, something NEVER to grace a chef’s meal. Similar sentiments are used to describe fresh basil or thyme or rosemary or cilantro (lemony! fresh! peppery! pungent!). I know we can truck our little behinds to the grocery when we need a few herbs that are fresh and HOPE that the produce section has what we need that day. But isn’t it just so lovely to snip snip snip from your patio, balcony or kitchen window the herb that you need?
Creating a nice pot of fresh herbs for yourself may seem challenging, but you can make something quite lovely with a little effort and some time. We all know that garden centers and nurseries sell these though, right? Why not just buy a pot already done? well.. you could do that. What I have noticed is that many times those pots are far too small to house those herbs for any lengthy period of time, and would need to be transplanted 1) into the ground or 2) into a bigger pot. How about if we just start with a bigger pot and pick the seeds (or small plans from the nursery) that we want from the beginning! Here is what to to and a few tips to keep in mind:
- Assume that your herbs will need at least 4 inches square per herb.
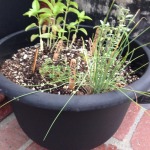
- Get a pot that is big and deep and has a hole / holes in the bottom. At least 18 inches deep is my recommendation. If the pot is not deep, your herbs may flame out too fast or just never produce those broad, soft luscious leaves that you desire. If the pot will be inside your home, you will need a tray at the bottom to collect the water that leaks out of the hole. Don’t think you can be efficient by getting pot or lovely vase with no hole. the roots will rot, smell bad, and then the plants will die.
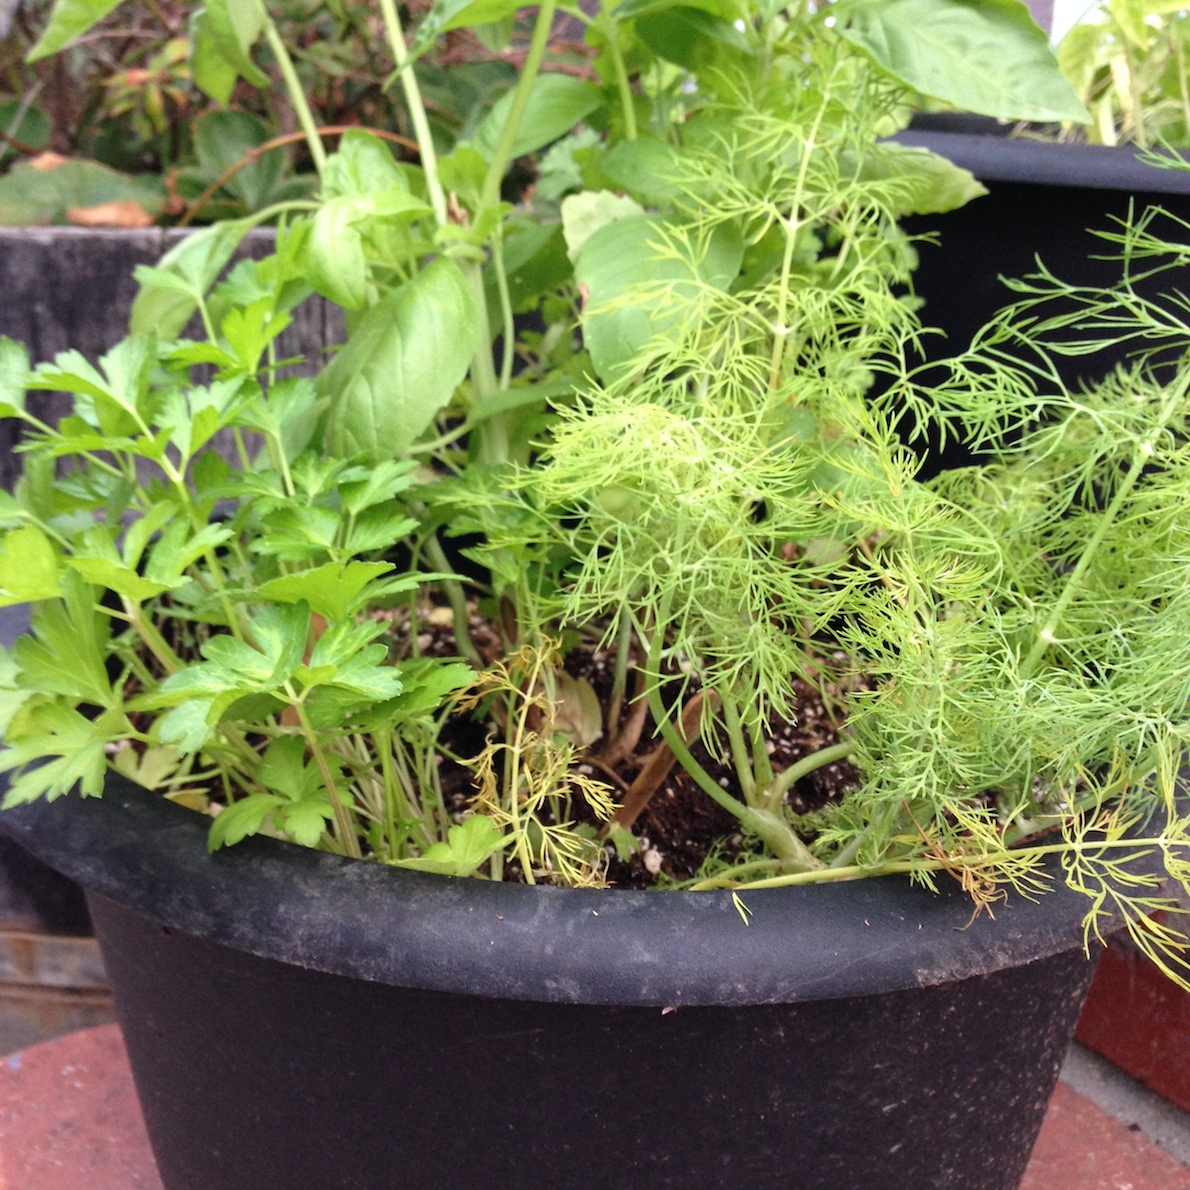
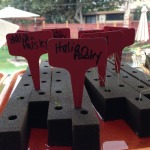
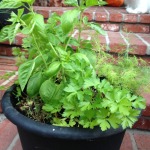
- Choose your plants or herb seeds. A tip – MINT should have its own pot, because it is likely to take over any space where you put it. Imagine the mojitos in your house with your own MINT POT! The same could be said for SAGE as well, it should probably have its own big pot, and then your pumpkin ravioli (or pumpkin gnocchi) with crispy sage, brown butter and parmesan can be the talk of the neighborhood. Other herbs that should have their own pot- Rosemary and Lavender. Herbs that should do well potted together (basil, parsley, cilantro, dill, thyme, oregano, and others). No more than 3 or 4 in a pot, even if it is really big.
- If you bought seeds –
- Plant them so that they are not too warm (summer in LA means I start mine in a garden window in the living room) or cold.
- I find seeds do best when they do not get mushed under heavy soil (I use a very light seed starting mix which I get from Amazon (this one) or Oasis root cubes which are available from a nursery supply but you might need to buy like a thousand of them).
- No fertilizer or compost! – this is the equivalent of feeding grilled prime rib to an infant and wondering why she isn’t flourishing from all the great protein. Seeds are like babies and can’t handle that stuff until they are full fledged plants.
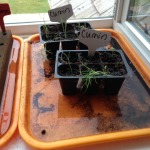
- Set up a tray or plate under your pots so that you can water your seeds FROM THE BOTTOM I like plastic cafeteria trays for this – they are flat, and mobile (I use these). The pots you start them in should have hold in the bottom and a nice light seed starting mix in them so they will soak up the water like a sponge does.
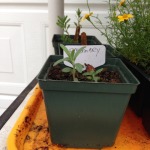
- Once your seeds have germinated, wait until they grow a second set of leaves to transplant / thin them. At this point I put them, separated into bigger (but still small) pots (I use these pots, I think they are just the right size and they are durable for many seasons in my garden). Use a light potting soil in them and still keep them in trays so you can water from the bottom. Also, if you are planning on making this an outdoor herb garden, you would start thinking about moving your plants outside and back inside (after they have grown to look like real plants) to start getting them ready for the elements (hot sun, rain, etc).
- Once the potted herbs have been outside successfully, for at least a week, you are ready to put the into your big herb pot.
- Fill your big herb pot with a light potting soil. I use a mix of sphagnum peat moss, perlite and minimal amendment (like 10% or less enriched soil). Pot your small herbs into the big pot, and water occasionally (this depends so much on where you are, but I will say that it is more common to over-water than it is to under-water. I water my potted herbs about twice a week, and if I walk by and life the pot and it feels really light, like a dry sponge, I figure it needs water. If it feels heavy, I decide that it is probably wet enough.
Happy planting and cooking with your new fresh herb garden!!
This post contains affiliate links, which means if you use my link to make a purchase I’ll make a few bucks (or cents) and have some extra money for seeds, dirt, chicken feed, sugar or website maintenance!