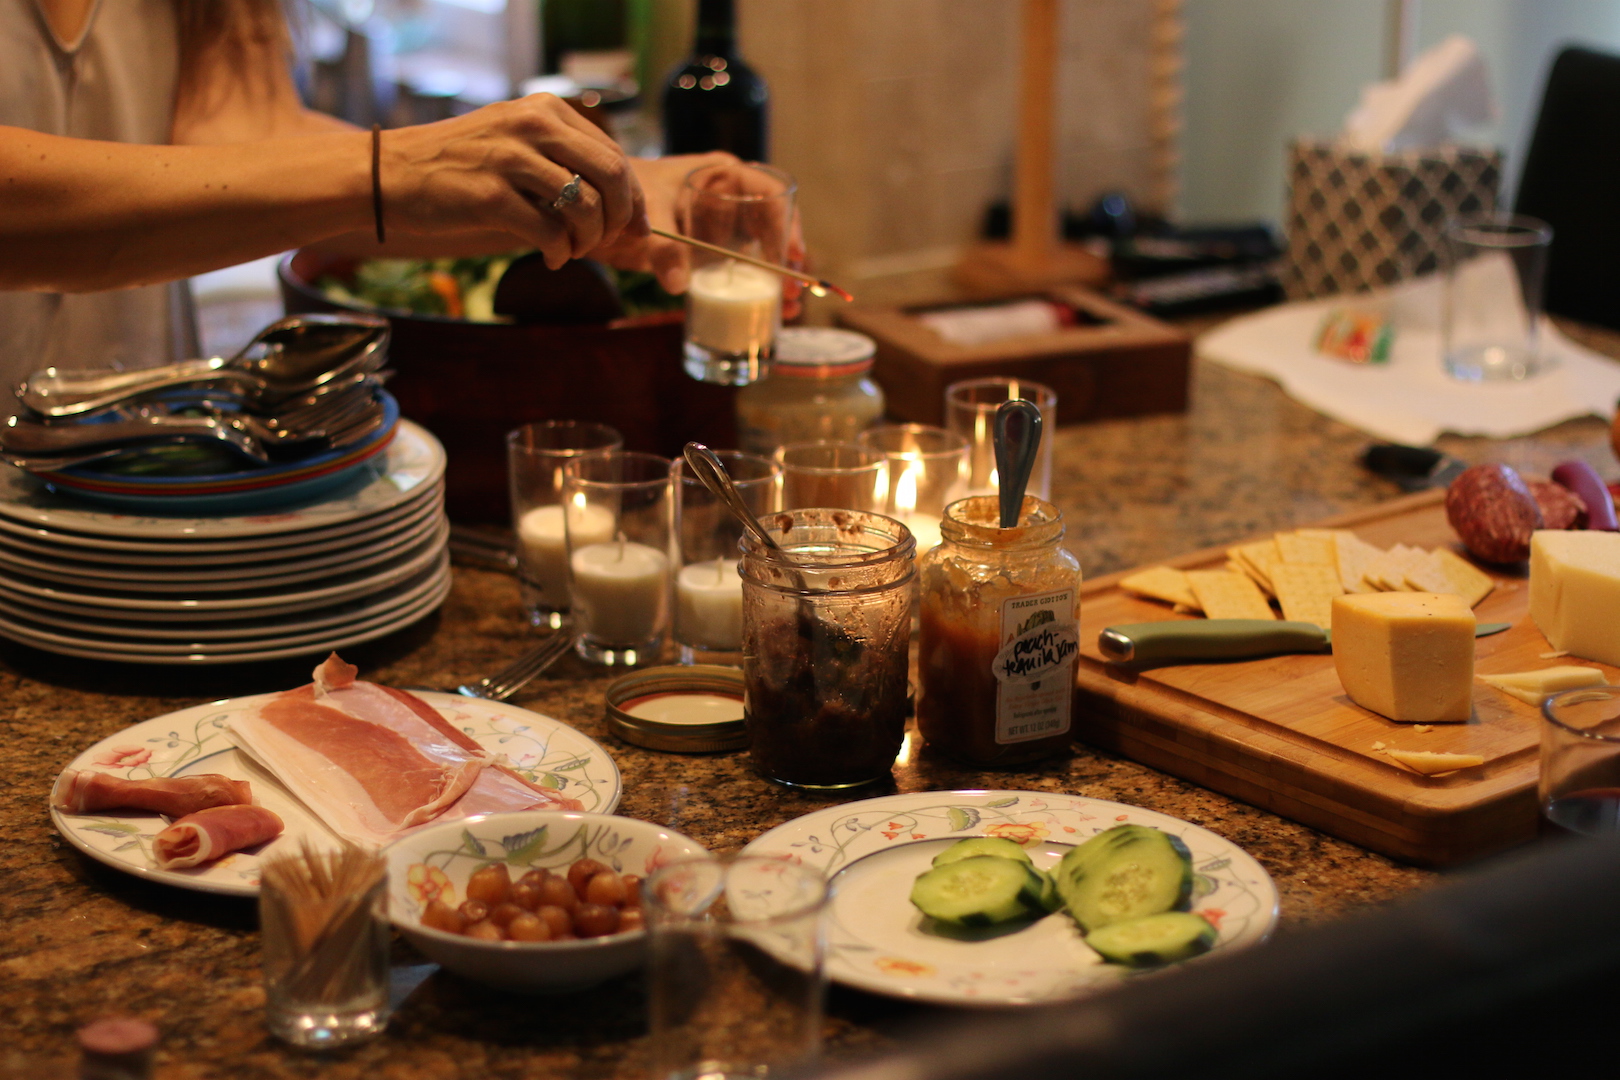
 A strange set of events led me to candlemaking recently. It turns out I’m kind of obsessed with drinking glasses. It’s an odd obsession to have, I acknowledge, but it is there nonetheless. And a search for a particular glass ended in me buying several cases of not-quite-the-right-one. And with a 40% restocking fee to return those glasses I searched for something to do with some slightly sophisticated but not-quite-right glasses. I came up with making candles. Brilliant, right? I did ultimately get the drinking glasses I was looking for, but now I also have several dozen other glasses as well.
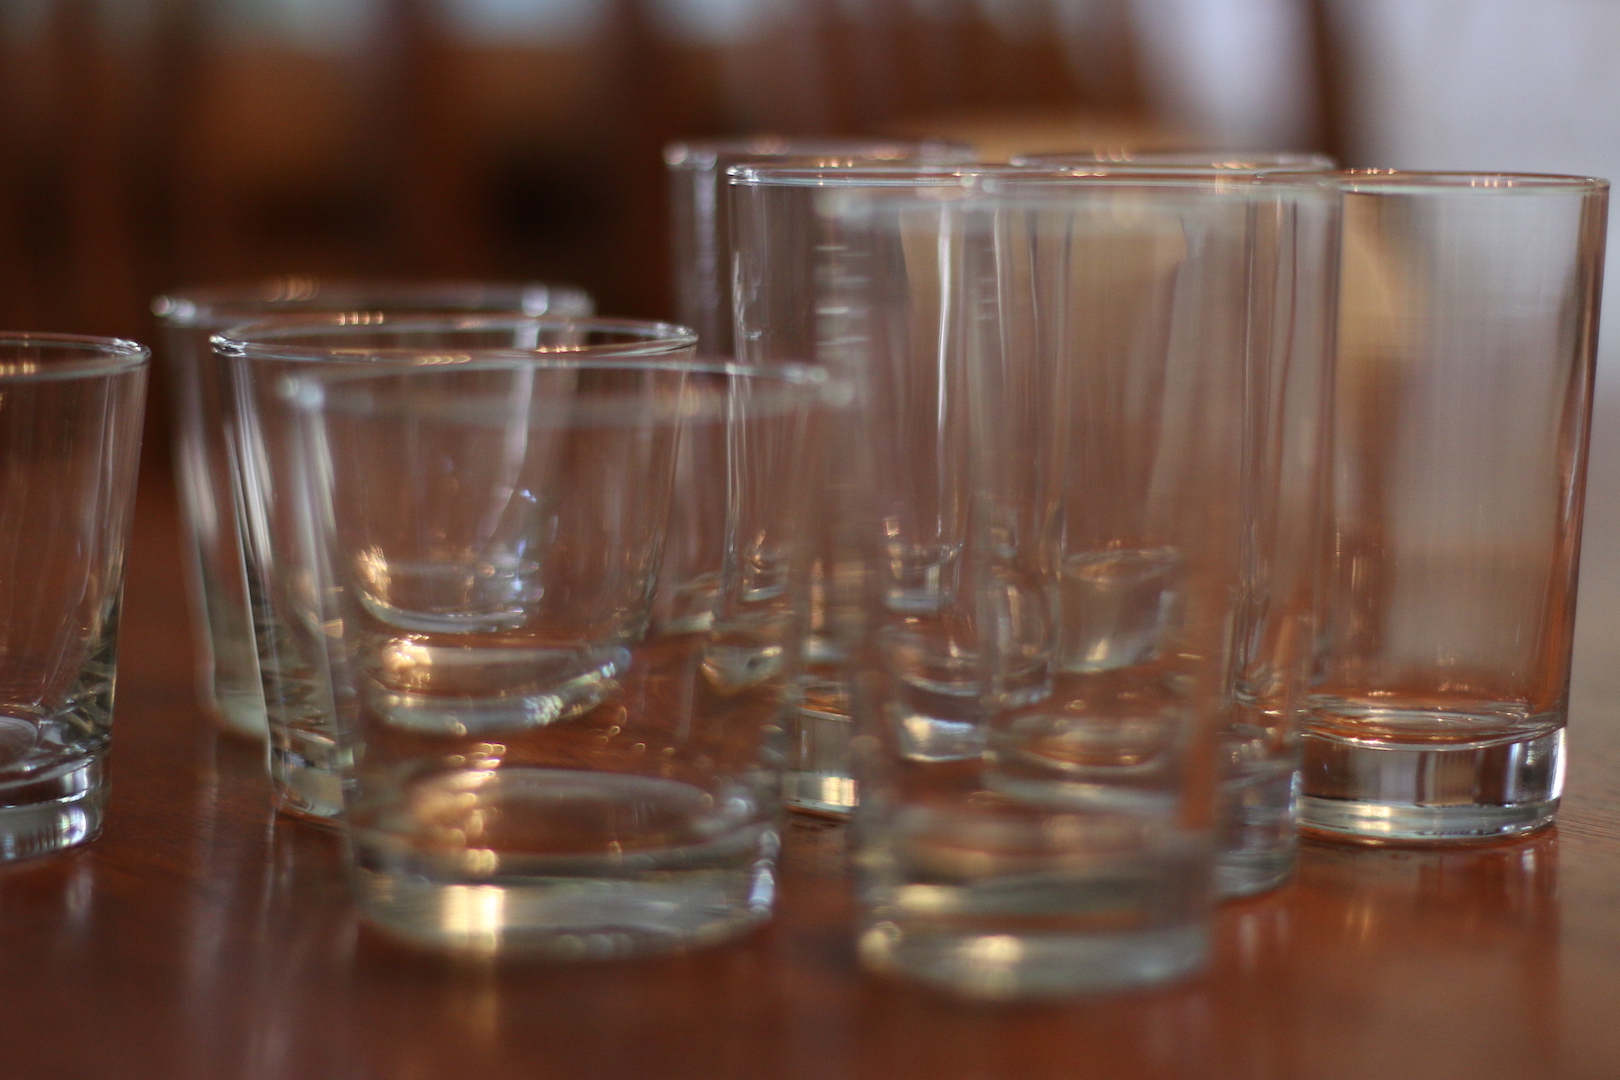
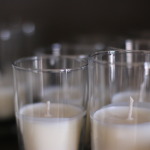
- Glasses, pretty much any size, but the glass should be thick enough to handle the heat of the burning flame
- Hot glue gun, for attaching the wicks to the bottom of the glasses (I finally invested the 10 bucks in my own after borrowing my mother’s for about a month. I love this one for the one handed operation)
- Wicks that have the metal base already attached, made for using with soy wax
- Soy wax flakes for making candles
- Holder for melted wax, I use an aluminum pitcher or you can use a glass bowl if it also works as a double boiler top
- Wick stander-upper (see popsicle stick and pencil options below)
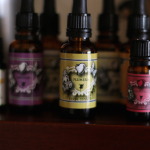
- Scented oils made specifically for making candles (optional)
- Colored oils made specifically for making candles (optional)
- Wash and dry the glasses to make sure they are really clean and sparkly
- Straighten the wicks, and then put a little dab of hot glue to the bottom of each one and attach the center of the bottom of the glass. Make sure it is in the center or the candle will burn unevenly. You can push the metal base in to ensure the glue really sticks with the eraser of a pencil if you can’t get your fingers in there (hi-tech, I know)
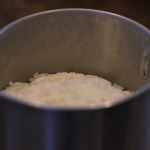
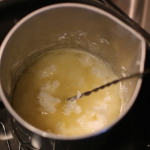
- Measure out a pound or 2 (1 pound of wax makes 5 or 6 of these little candles the way I do them, or it will make fewer if you prefer to fill the wax to the top) of wax flakes and melt in the top of a double boiler, very slowly and at low heat, stirring often. I actually melted mine in a candle making pitcher and put it on top of canning racks in my big pot with a little water in the bottom of the pot.
- Once the wax is completely melted, let it cool about 10 minutes (remove if from the double boiler or the canning rack and onto the counter or a burner on the stove that is cool). You need to add the scents after the wax has cooled a bit or they will lose intensity.
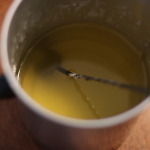
- Add scents (and colors, if you are using them) and gently mix in.
- Pour wax gently into the glasses, taking care not to splash the wax on the sides.
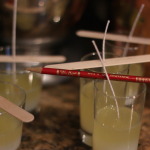
- Center the wicks immediately using popsicle sticks with holes drilled through them, or card stock with a hole pinched in the middle, or a pencil (see photo below).
- Let cool completely (they should cool at least 24 hours before you burn them) and then trim the wick to about 1/4 inch.
- Label the glasses with the scent / flavor that you have made them and / or decorate with ribbon if you like
- Happy candle making!
This post contains affiliate links, which means if you use my link to make a purchase I’ll make a few bucks (or cents) and have some extra money for seeds, dirt, chicken feed, sugar or website maintenance!
These sound wonderful. Very clever way to use your glasses.